Prank Chairs Get a Makeover
Happy Tuesday! Welcome to my newly branded blog. The previous-name-that-shall-not-be-named was getting cheesy and was too Richmond-specific. My life has changed so much in the last year that my blog premise no longer stood up. So I'm trying this on. Don't like it? Shut up. It's here to stay (I hope!) Here's to some creative adulting ...
And now for today's post. While I typically seek out paint-me furniture, these chairs came to me via a roommate. My friend and roommate Christine bought them on Craigslist with the intention on re-caning them. Well, I don't know a lot about re-caning except that I've heard it's complicated to do yourself and expensive to have done professionally, which Christine quickly discovered. So, they became our accidental prank chairs. For eight months, they framed our entry-way table with the kind-of-ugly cushions they came with hiding the broken seats. It sure made things extra exciting when guests began to sit down in our hallway.

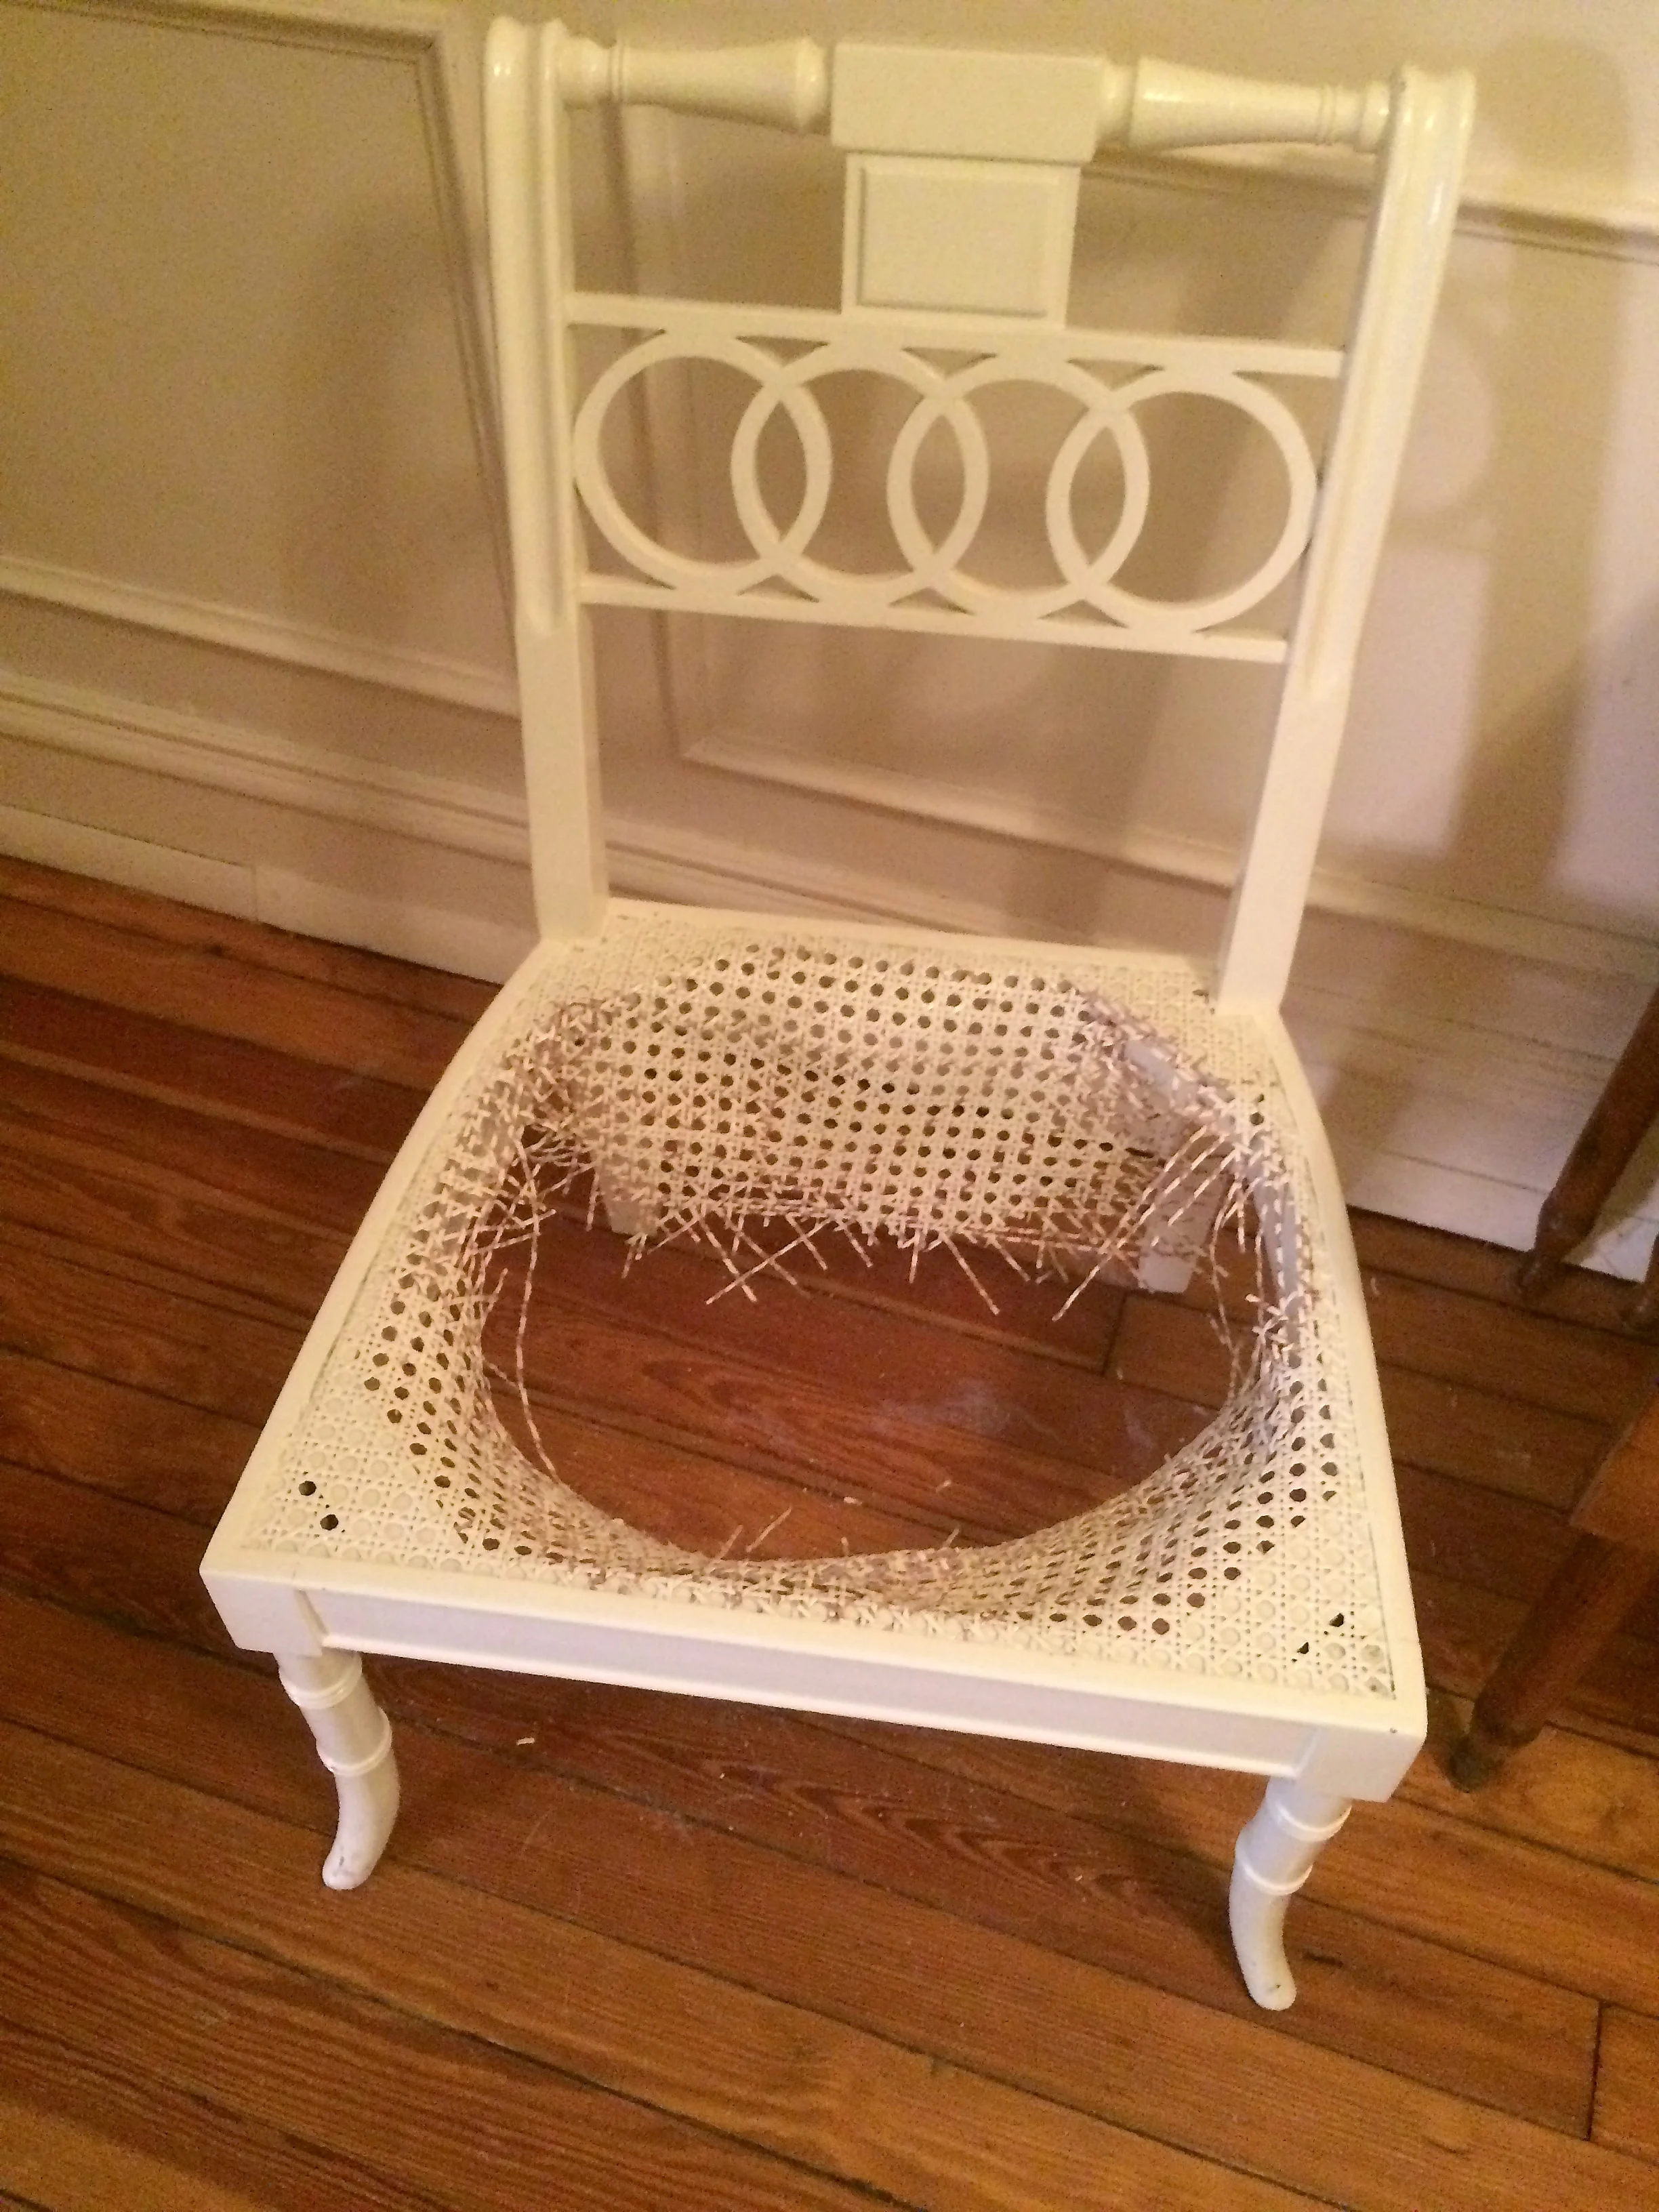
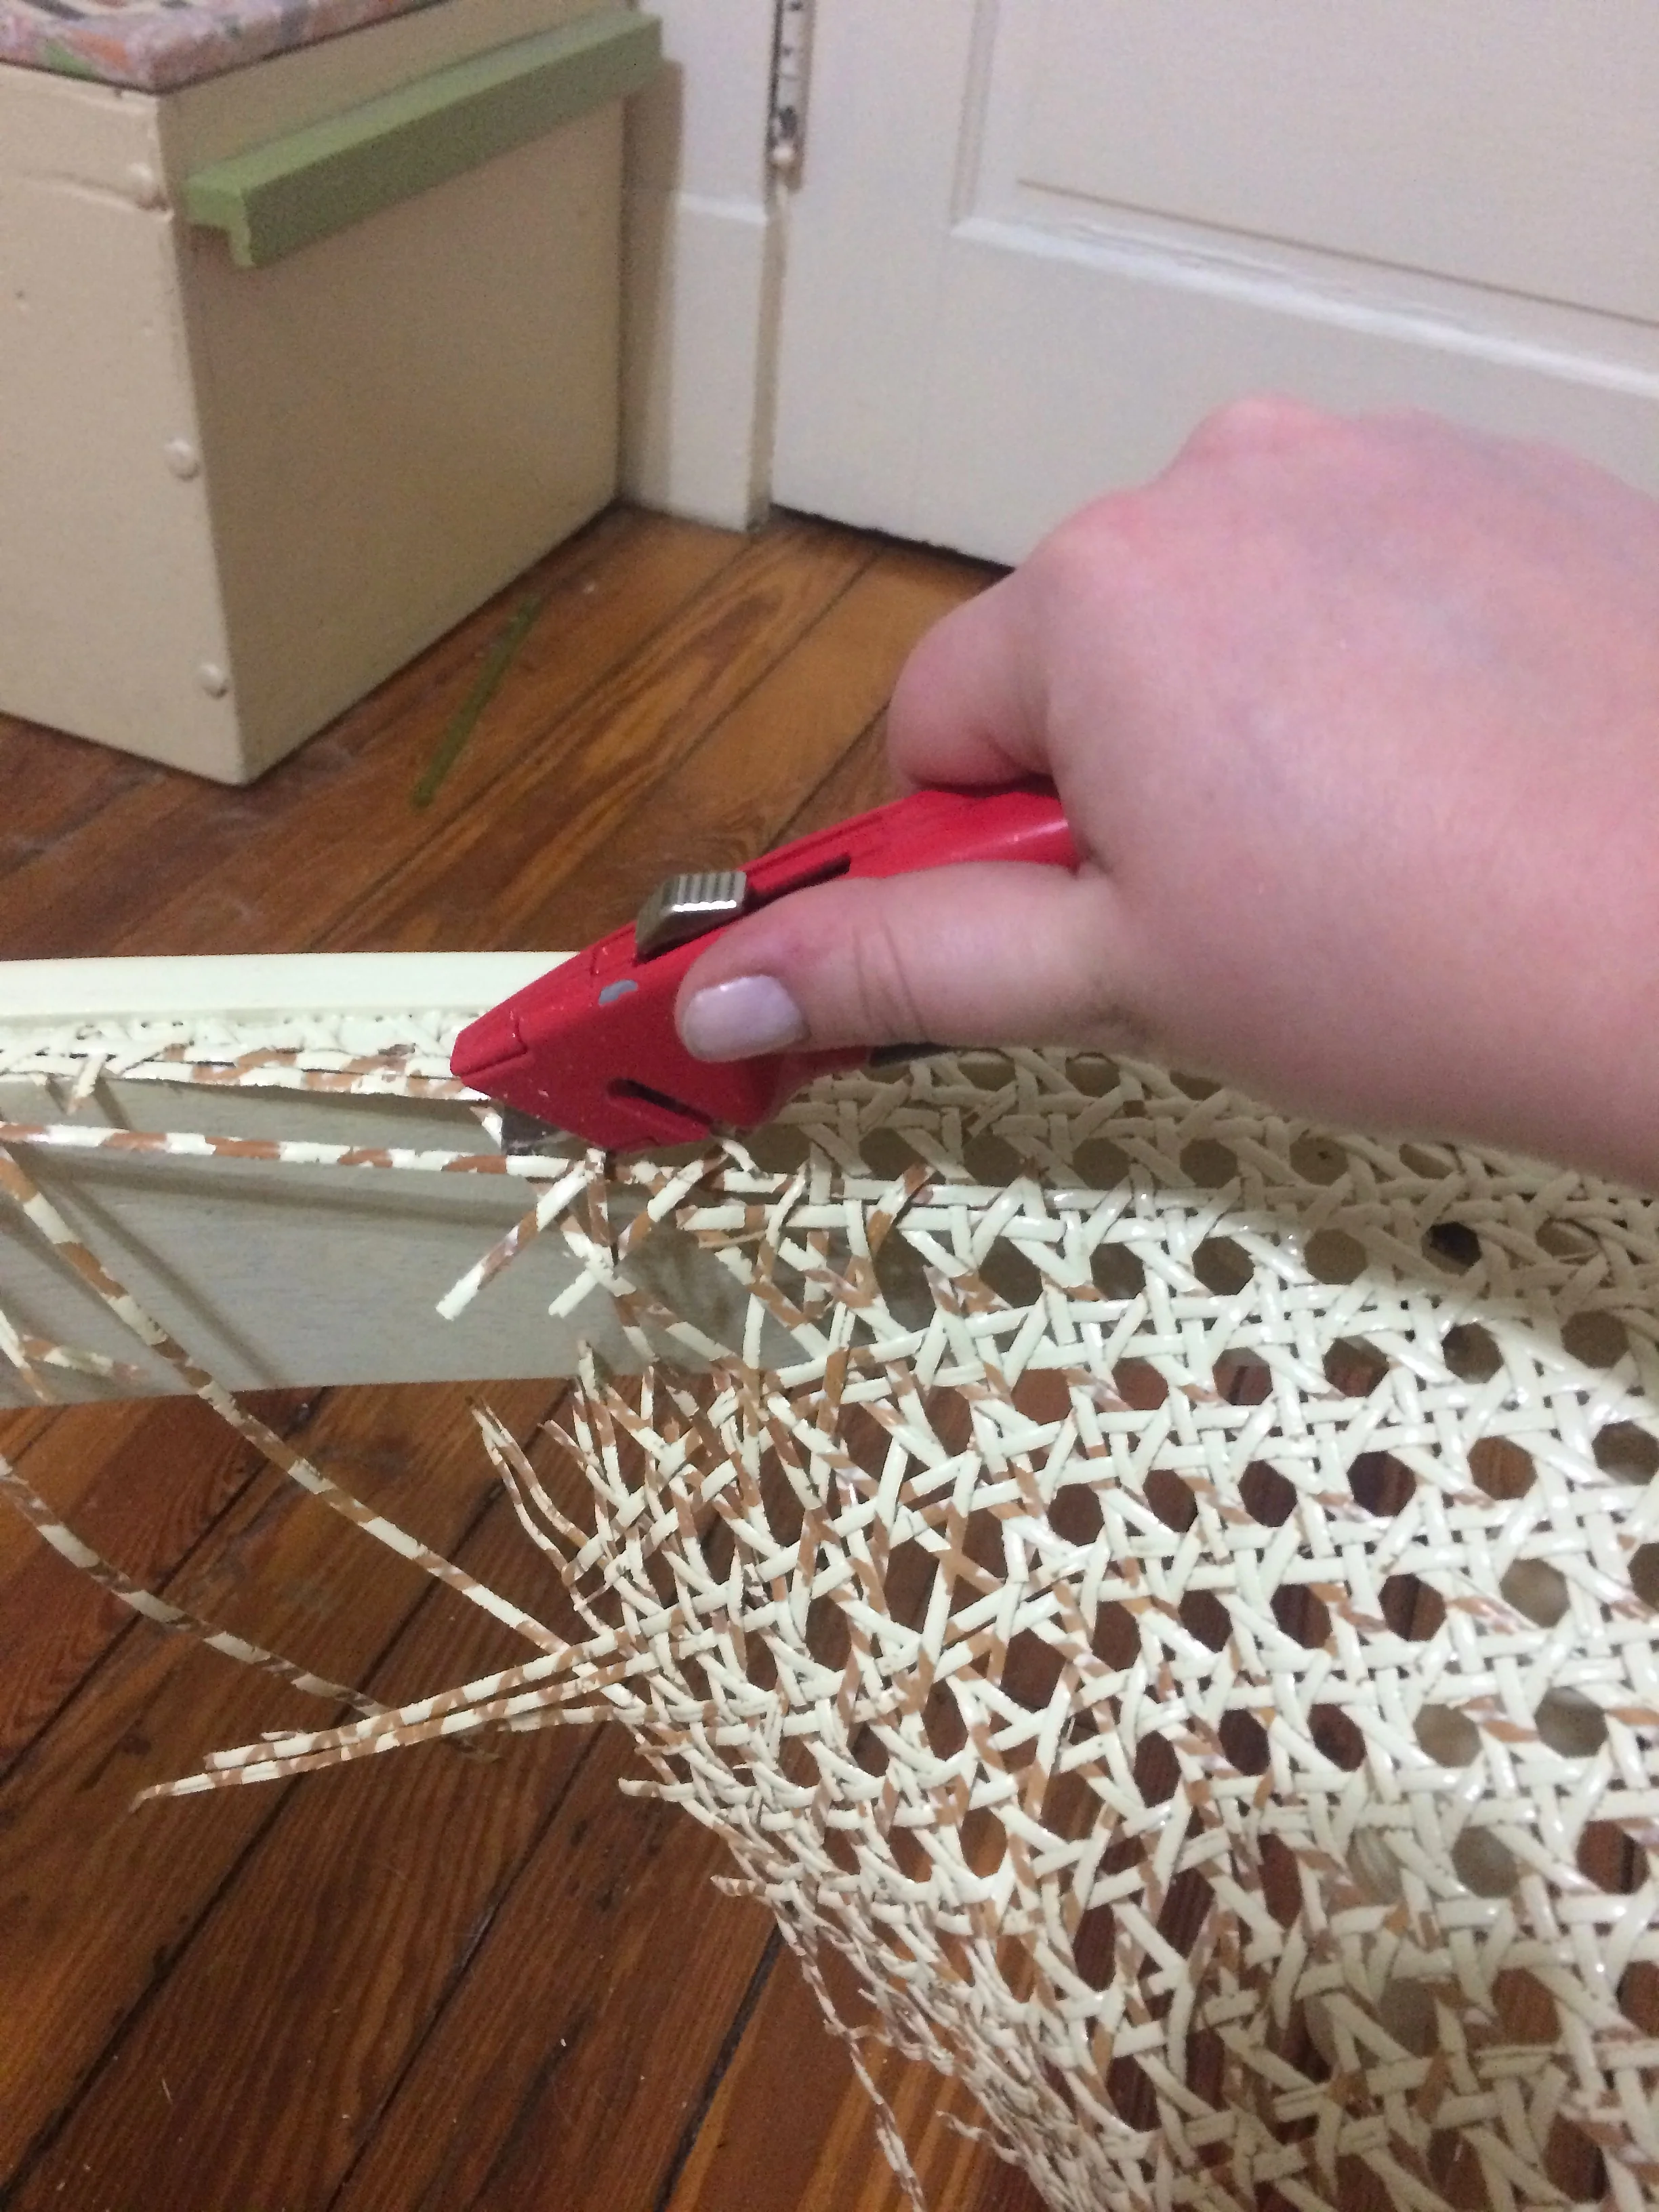
When Christine began to finalize her move to California and she didn't have any Craigslist bites to take back her unwanted chairs, I decided to take them off of her hands. I began by removing all of the cane with an xacto knife, which was way messier than I expected it to be.
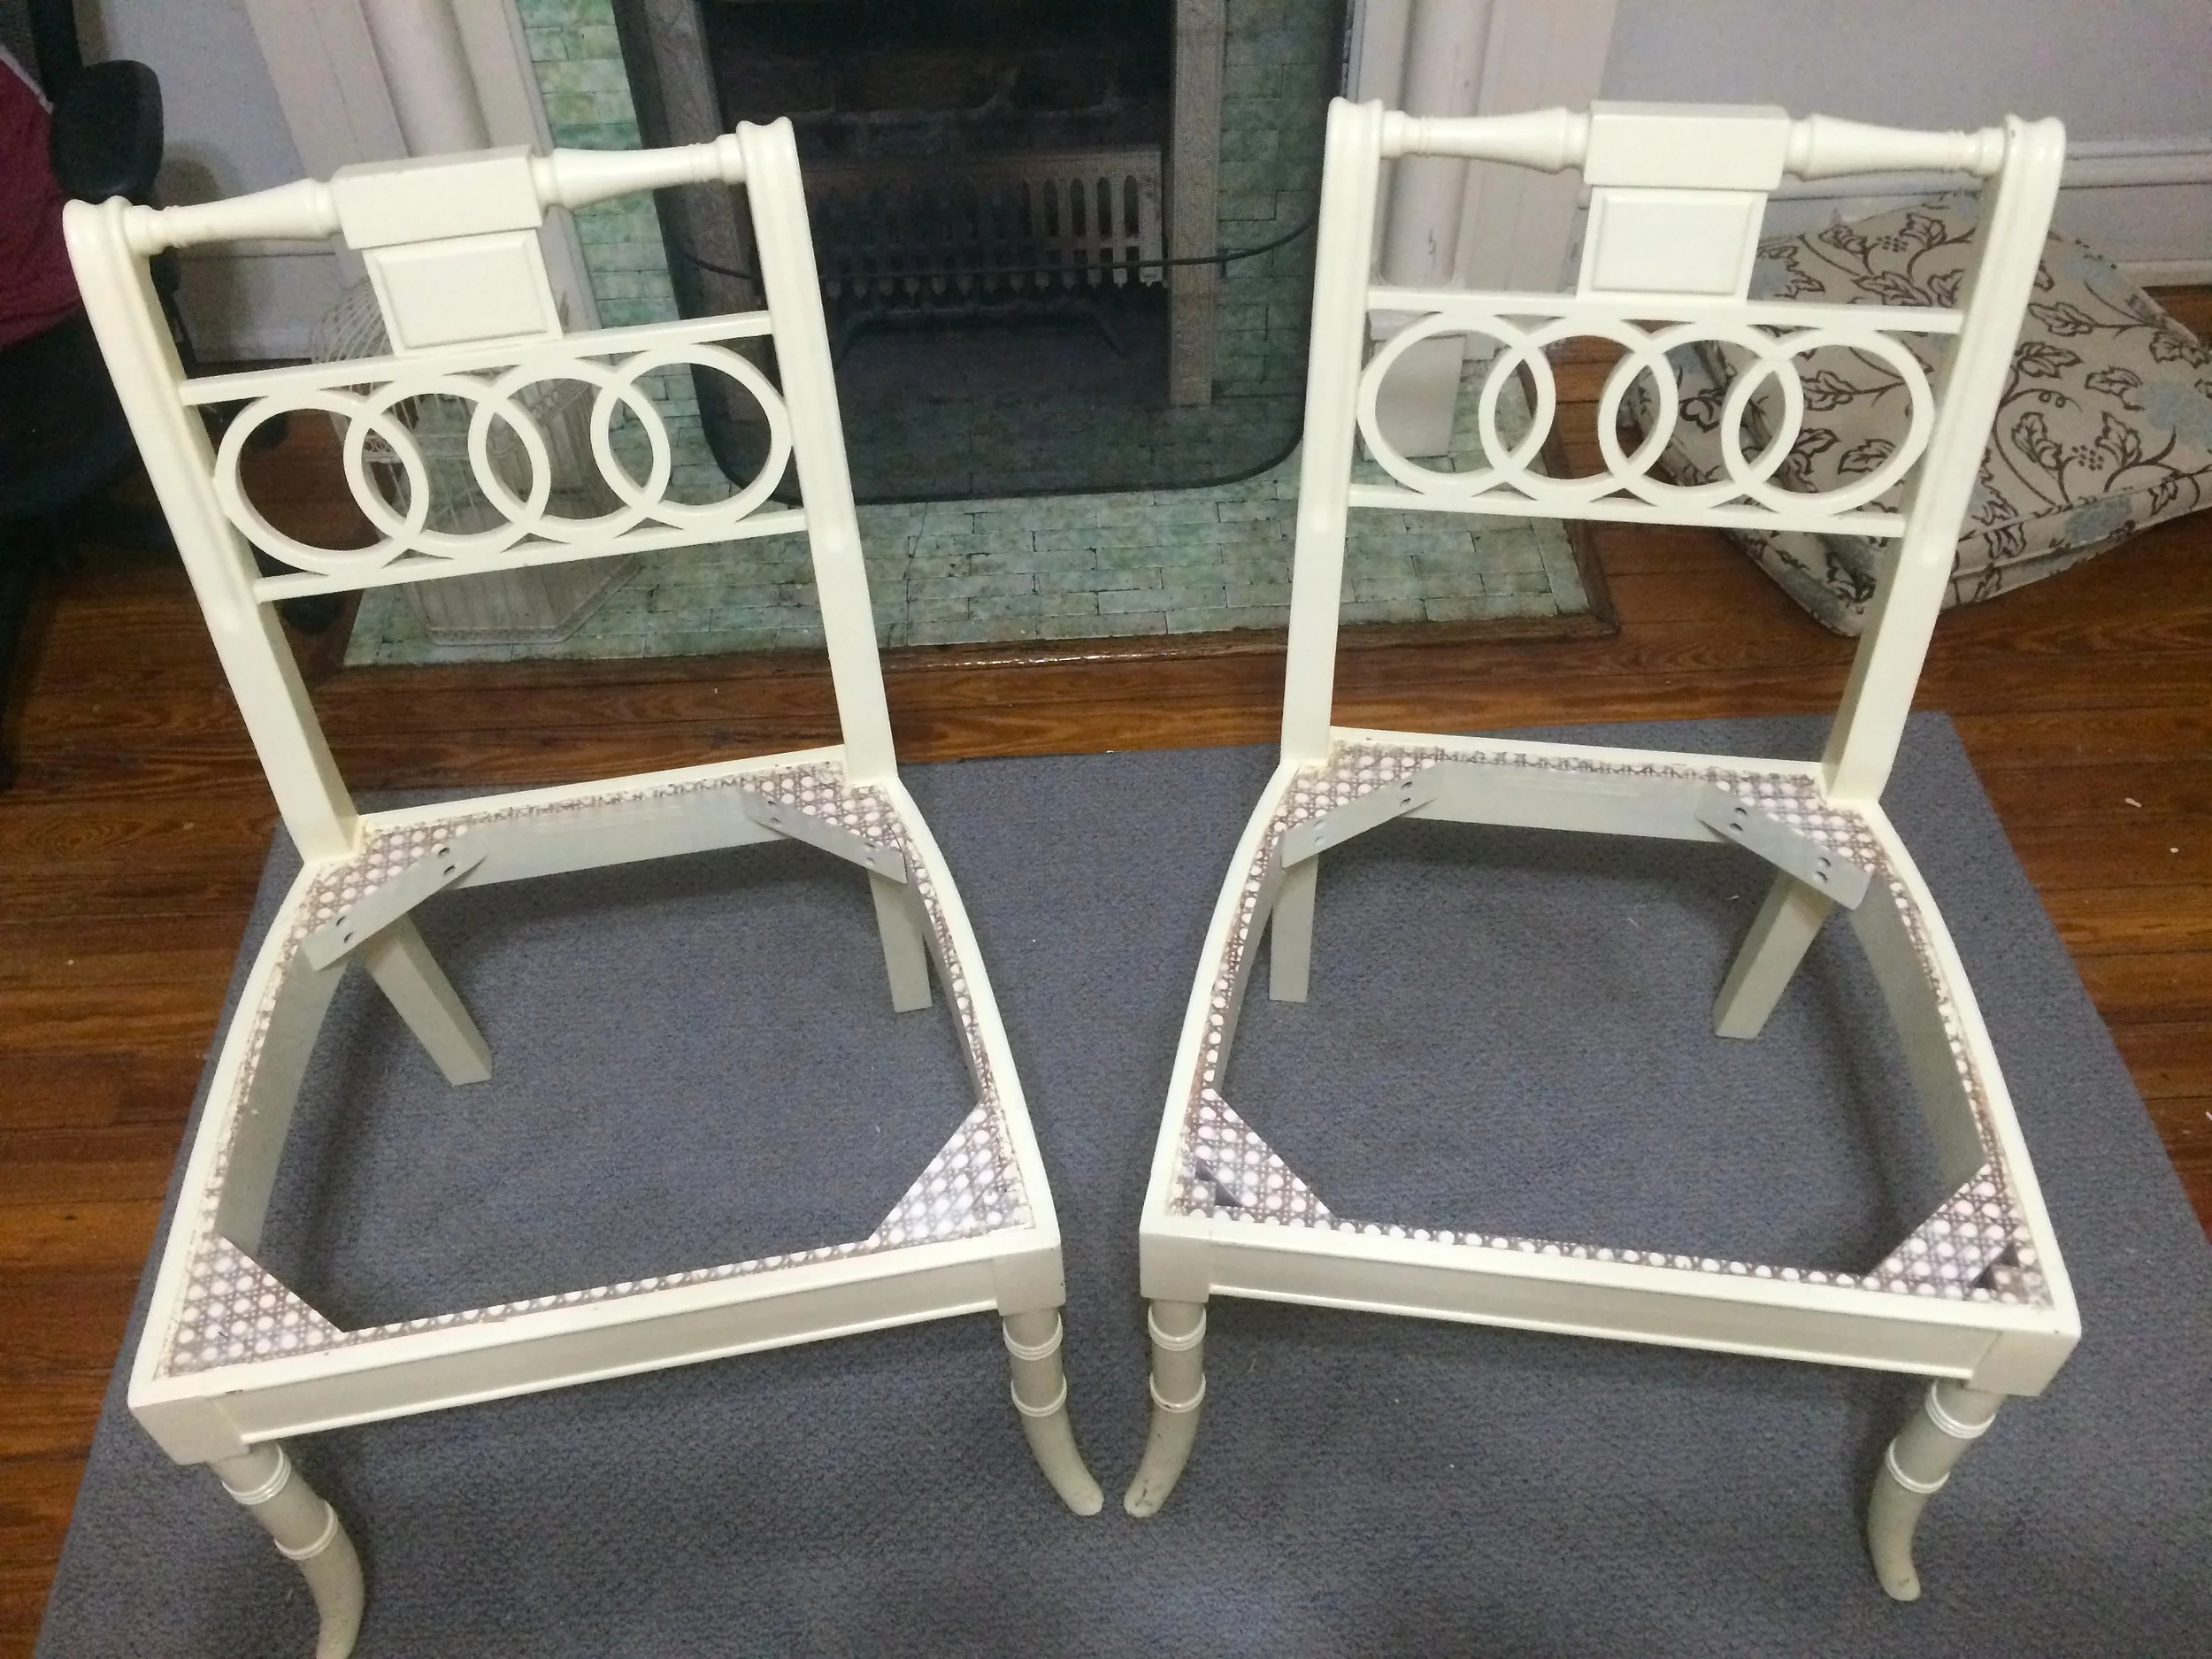
I knew I wanted to paint these babies, but I was running out of my Annie Sloan chalk paint, which is not cheap. I mean, I had just bought a house. So I decided to make my own. I had seen pinned posts about homemade chalk paint, so I looked one up and went for it. I was working in the evenings after work and failed to take many photos during the process, but basically, I just made a mixture of a cheap latex paint, water and plaster of paris (which I still have PLENTY of left) and went to town.

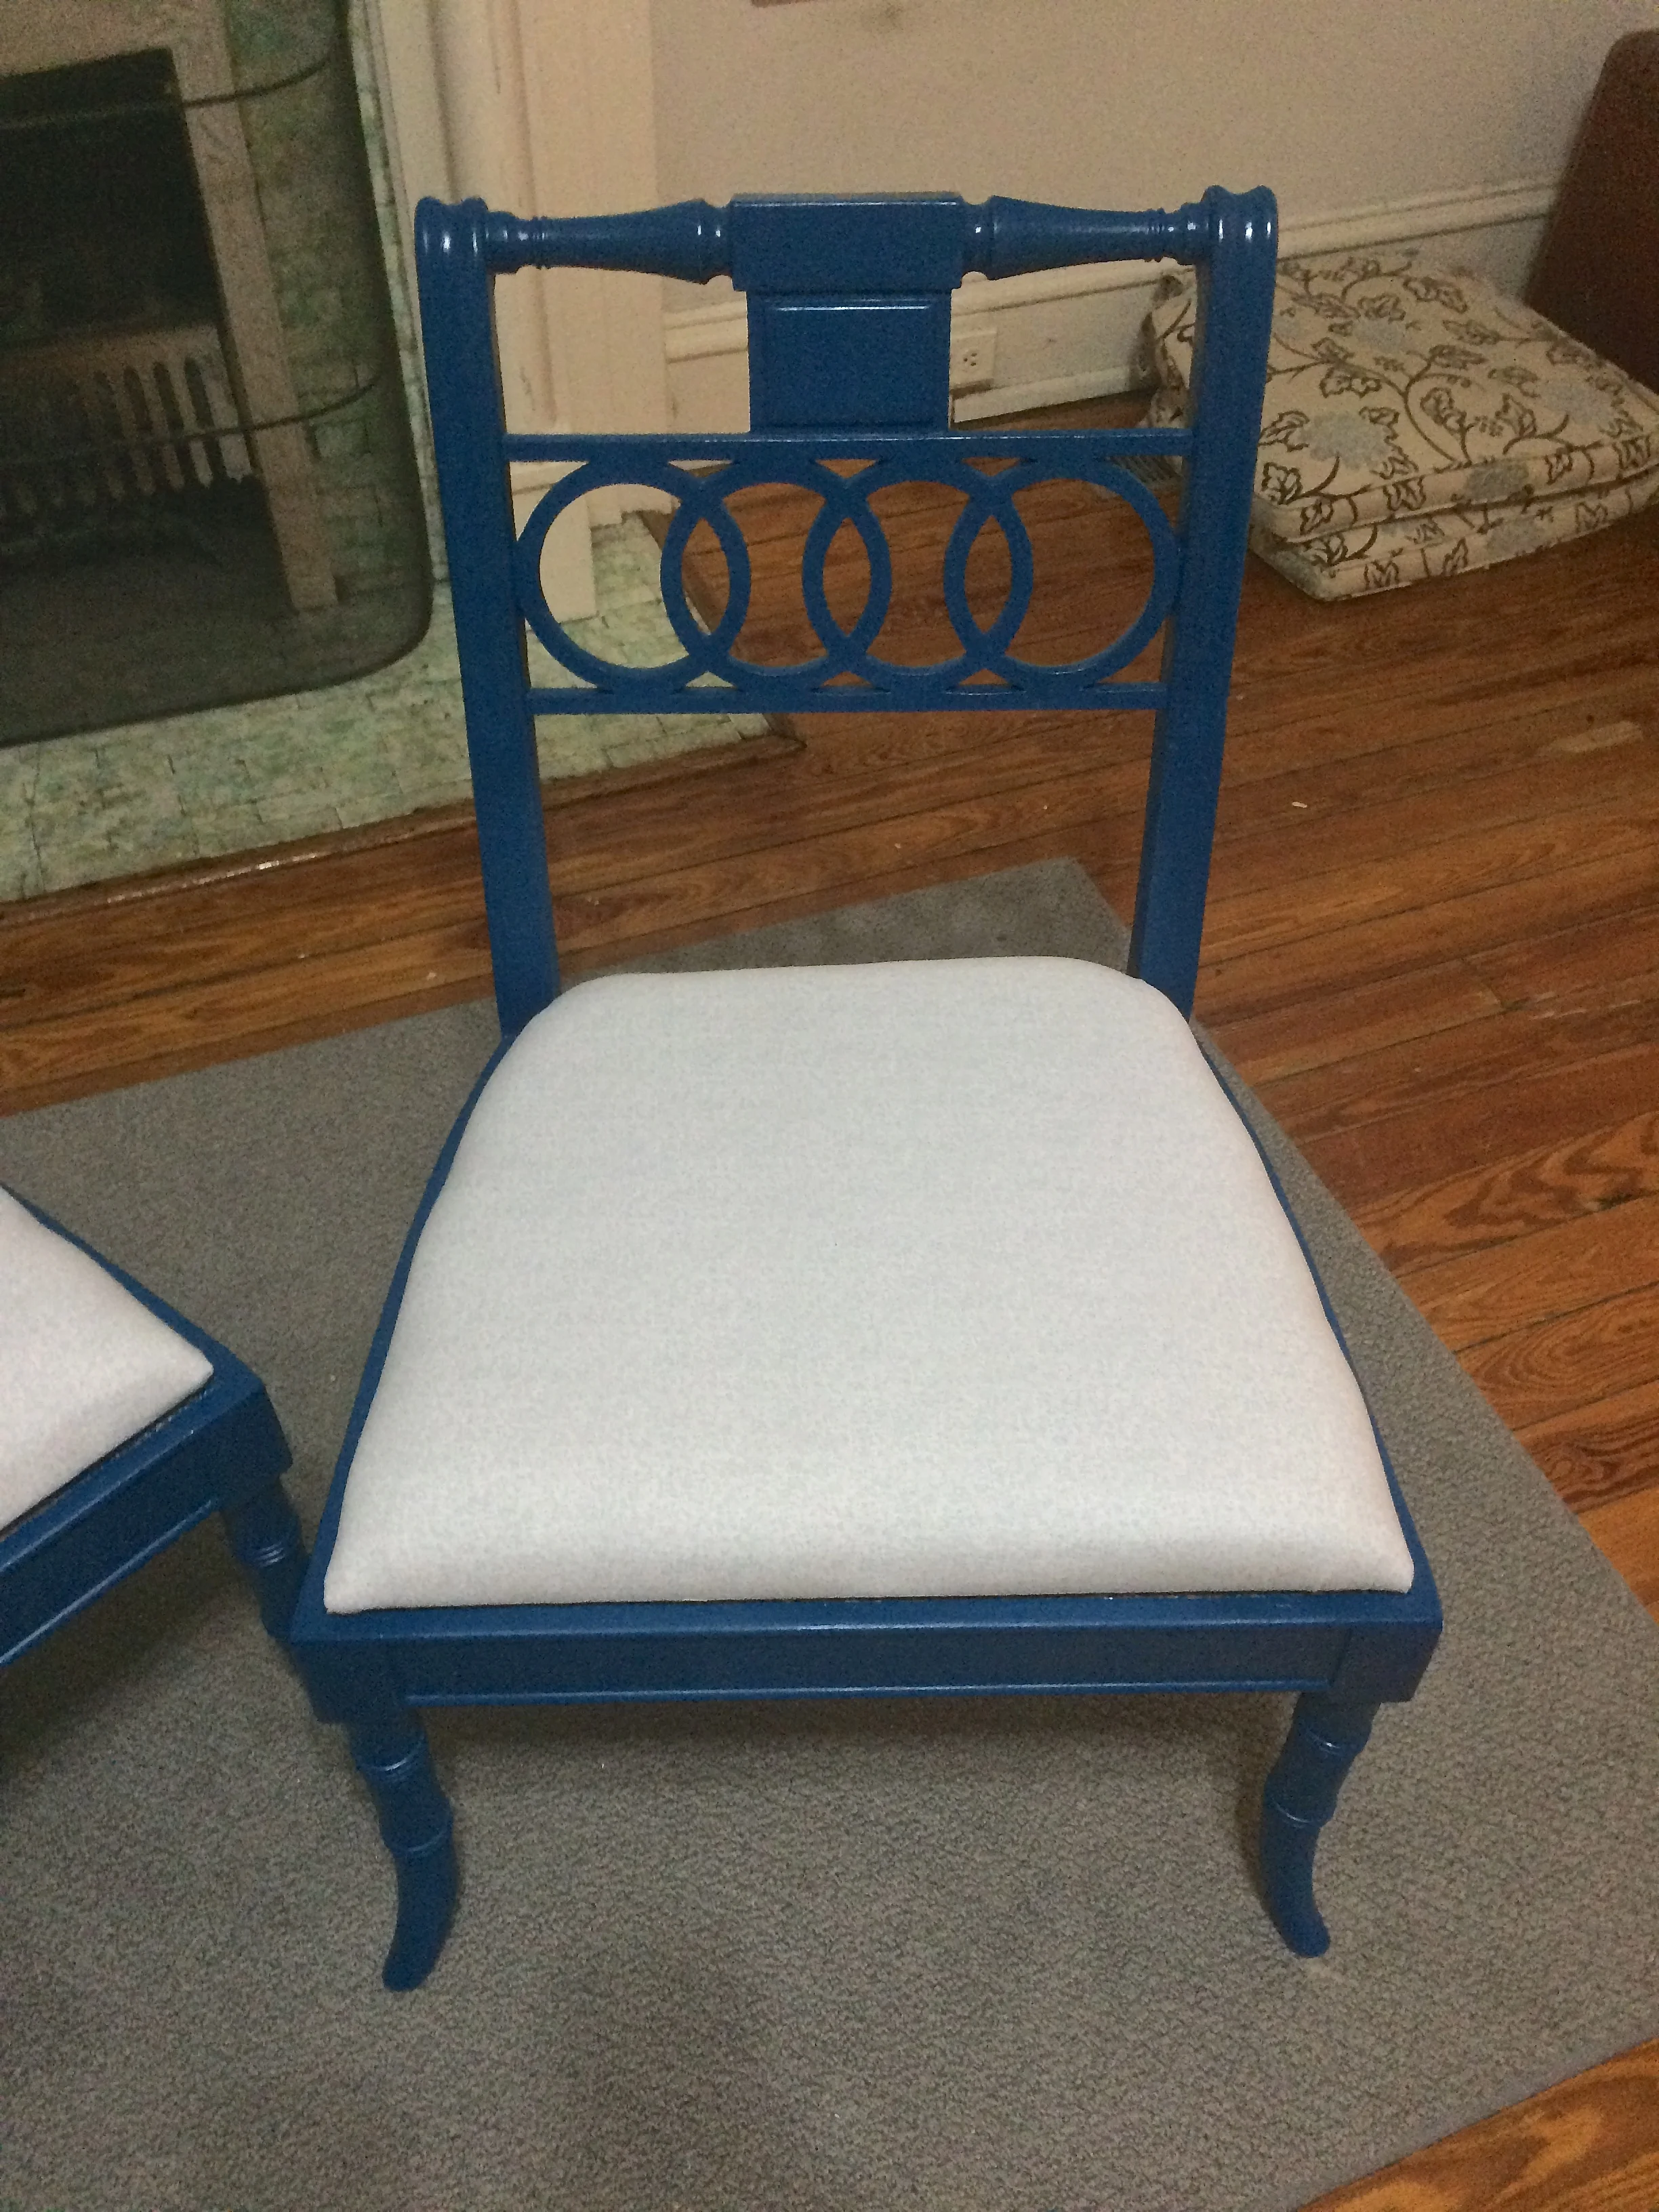
Now, for the seat, I knew I wouldn't be able to replace the cane. I was looking for quick, easy and cheap. So I decided to cover some quick fabric-covered seats. First, I needed a base. I cut a piece of cardboard to the exact shape I needed and then I did this magical thing where the cardboard became wood. It's called "give the template to dad and ask nicely." Thanks dad! Someday I'll have my own tools ...
Then, I cut a layer of foam and two layers of batting, as well as a piece of fabric I picked out. Each layer was a little bit wider than my wooden base. Then I went crazy with the staple gun. Instead of borrowing one from my dad, I decided this was a tool I wanted. Let's face it, they're pretty fun to use. I'm sure my neighbors thought I was shooting a BB gun at 10 o'clock at night. Sorry neighbs!
And viola! I have a lovely pair of chairs. (Okay, I'll be honest, they're not completely finished, because I really need to secure the seats, but for all intents and purposes they work, okay!) And thus, one of my final projects in my apartment was complete.
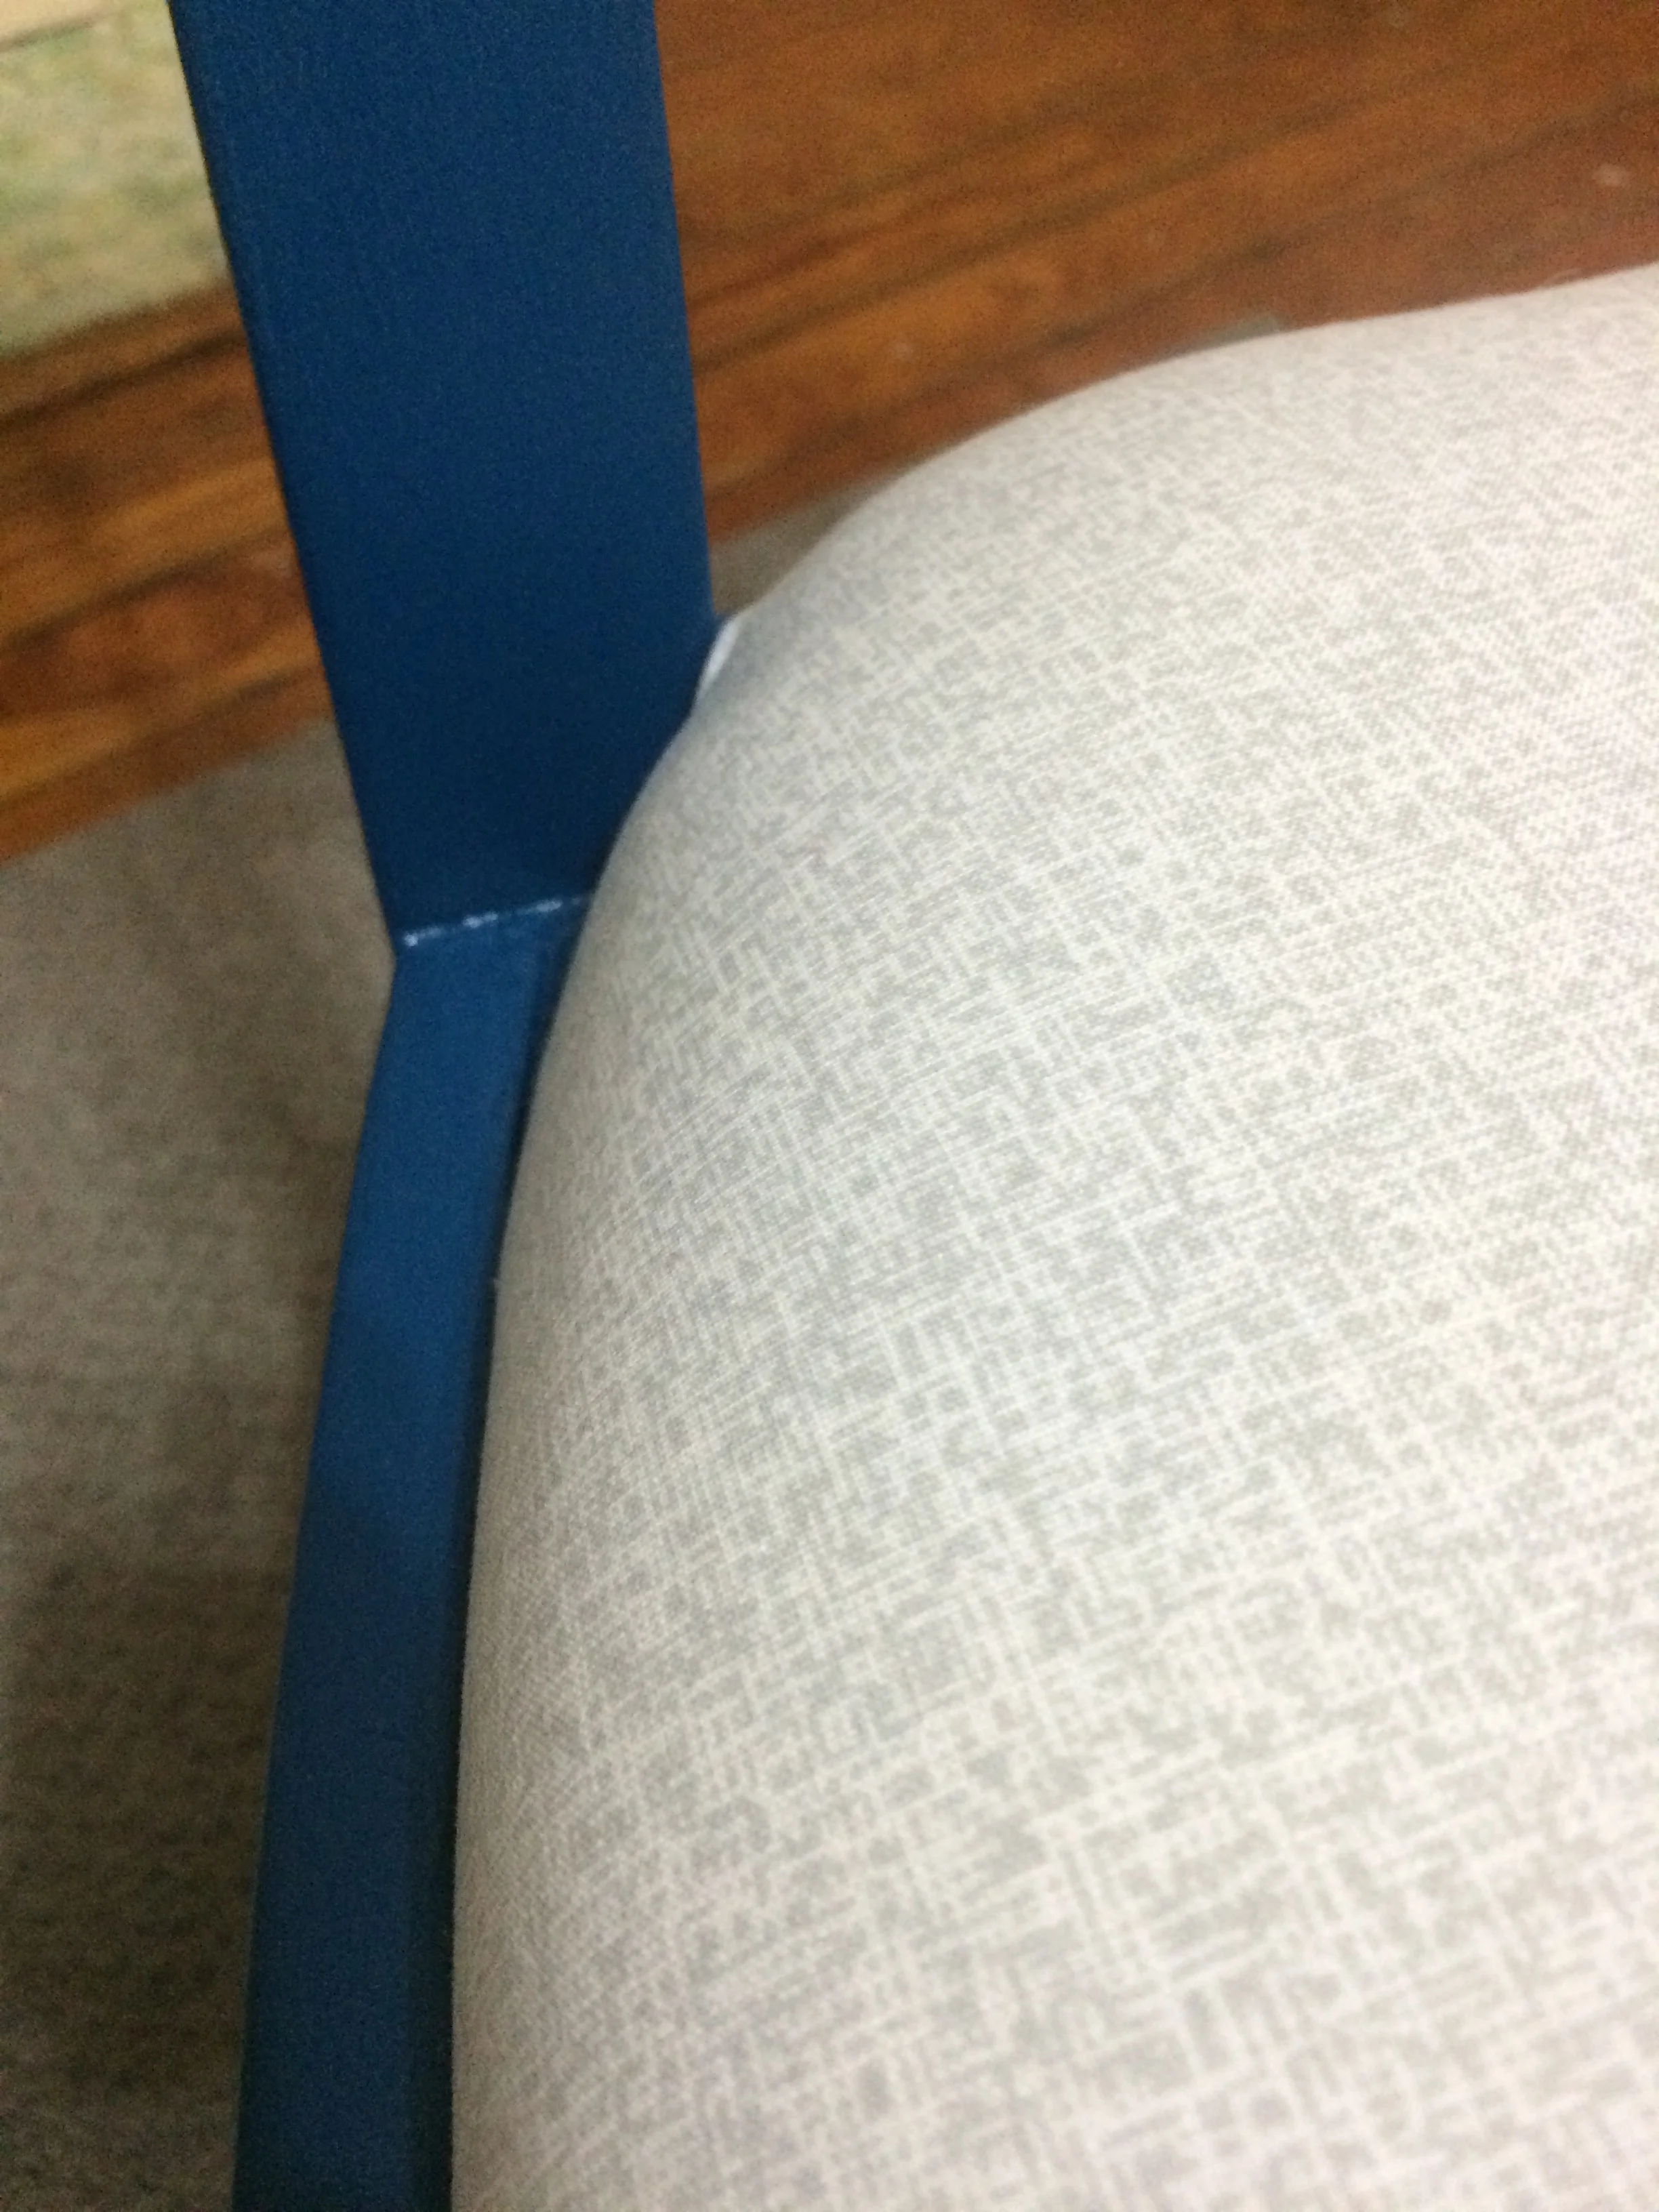

Overall, I decided that my little taste of upholstering was enough for the foreseeable future. Even though covering a seat is about as simple as you get, I had a hard time getting the pulls even and I wasn't completely happy with the result.
Plus, foam and batting and fabric are expensive. Typically, I think my redos create value; that is, if I wanted to sell a piece I've fixed up, I'm confident that I could get a return on my investment in the original piece plus materials. In this case, I'd be hard-pressed to break even. Add in all of the time I invested and well, maybe they'll make a nice present some day. For now, while I'm taking my time to furnish my home, they'll do just fine.
